Introduction
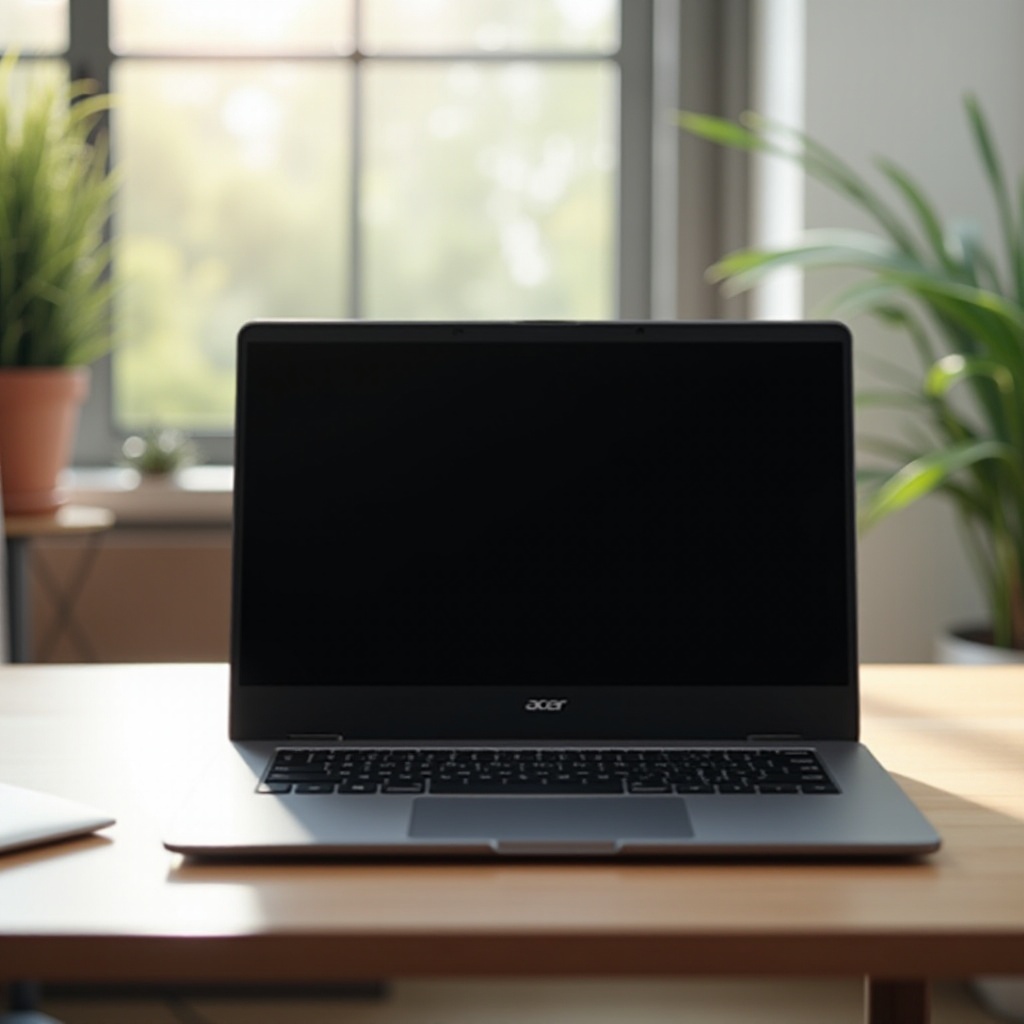
Experiencing a black screen on your Acer Chromebook can be incredibly frustrating and disruptive. When your screen unexpectedly goes dark, it can leave you searching for solutions, particularly if you rely on your device for work, school, or personal projects. Understanding the causes behind this issue and knowing how to address it effectively can save you both time and stress.
This guide offers an in-depth look into the potential reasons behind the black screen on Acer Chromebooks and provides step-by-step solutions to get your device running smoothly again. Whether it’s a one-time glitch or a recurring issue, our guide aims to assist you in efficiently troubleshooting and resolving your Chromebook’s screen problems.

Understanding the Causes of Black Screen on Acer Chromebooks
A black screen on your Acer Chromebook often points to a deeper issue that can range from simple settings errors to complex hardware problems. A frequent cause is incorrect screen brightness settings, which may be inadvertently set too low, giving the appearance of a black screen.
Sometimes, the problem occurs due to temporary software glitches or conflicts arising from miscommunication between the software and hardware. A reboot often resolves such issues. Besides, problems with internal components or connections, such as faulty cables, defective screens, or motherboard issues, can also result in a black screen. Understanding the root of these problems is crucial in troubleshooting.

Quick Fixes for Acer Chromebook Black Screen
When confronted with a black screen on your Acer Chromebook, trying a few quick fixes can be beneficial before delving into more complex troubleshooting methods.
Adjust Screen Brightness
- Ensure your Chromebook is powered on.
- Use the brightness keys on your keyboard to increase the screen brightness.
- Check if the screen responds.
Perform a Regular Restart
- Press and hold the power button until your Chromebook powers off.
- Wait a moment, then press the power button again to restart the device.
- Observe the screen to see if the problem is fixed.
These quick solutions often address minor glitches. If the problem persists, more detailed troubleshooting is necessary.
In-depth Troubleshooting Steps
If quick fixes don’t resolve the black screen issue, it’s time for more thorough troubleshooting measures.
Power-Cycling the Device
- Turn off the Chromebook and unplug it from the power source.
- Disconnect any external devices like USB drives or monitors.
- Hold down the refresh button while tapping the power button.
- Once the device powers on, release both buttons and check the screen status.
Checking External Display Connections
- Connect your Chromebook to an external monitor using an HDMI cable.
- Switch to display mode by pressing Ctrl + Display Window switch key.
- If the external monitor displays correctly, your Chromebook screen might be at fault.
Accessing and Assessing Hardware Components
- If comfortable, open the Chromebook’s back panel to check internal connections.
- Ensure the display cable is secure and undamaged.
- If issues persist and you’re unsure about inspecting hardware, consider professional help.
These steps help determine whether the issue is software or hardware-related.
Advanced Solutions for Persistent Issues
When the black screen remains despite troubleshooting, advanced solutions might be needed.
Using Chromebook Recovery Utility
- Download and install the Chromebook Recovery Utility from Google’s website on a different device.
- Follow the instructions to create a recovery USB drive.
- Boot your Chromebook using the recovery drive and follow on-screen instructions to restore the system.
Factory Reset (Powerwash) and Data Consideration
- Backup essential data as this procedure deletes local storage.
- Click your profile picture, then go to ‘Settings’.
- In the ‘Advanced’ section, find ‘Reset settings’ and select ‘Powerwash’.
- Follow the instructions to restart and reset your Chromebook.
These steps are often necessary for severe software issues.
Preventative Measures to Avoid Black Screen Problems
Avoiding future black screen problems involves regular maintenance and updates.
Software Updates and Device Maintenance
- Regularly check for and install software updates to keep your Chromebook current.
- Conduct routine hardware checks for any signs of wear.
Regular Backups and Safe Shutdown Practices
- Consistently back up essential data to the cloud or an external drive.
- Always power down your Chromebook properly to prevent software errors.
By remaining proactive, you can mitigate potential disruptions.

Conclusion
Facing a black screen on your Acer Chromebook can seem daunting, but with this guide, you have a variety of solutions from simple fixes to advanced recovery methods. Understanding the root cause is vital, whether it’s a minor glitch or a significant hardware issue. Regular device maintenance and best practice usage can help prevent these problems from appearing.
For persistent issues, don’t hesitate to consult professional help to keep your device in optimal working condition. Your Acer Chromebook is a valuable tool, and maintaining its performance is essential for its longevity and your productivity.
Frequently Asked Questions
Why does my Acer Chromebook screen go black randomly?
Your screen might go black due to software glitches, incorrect display settings, or faulty connections. Regular updates and proper shutdowns can prevent such issues.
Can resetting my Chromebook fix the black screen issue?
A factory reset or using the recovery utility can resolve persistent software issues that cause the black screen. However, backup your data as this process erases local storage.
When should I seek professional help for Chromebook screen problems?
If troubleshooting steps don’t fix the black screen or you identify a hardware issue, it’s best to consult a professional technician to avoid further damage.