Introduction
Connecting a subwoofer to an AV receiver can redefine your audio experience, introducing a rich, deep bass that elevates music and movies. Despite the potentially daunting nature of this task, it is indeed quite manageable with the proper guidance. This article aims to provide you with a clear and concise walkthrough to seamlessly integrate your subwoofer into your home theater system. By following these steps, you’ll unlock a new level of sound enjoyment.
Understanding Your Subwoofer and AV Receiver
Before proceeding with the connection, it’s essential to understand the primary components involved. A subwoofer is a specialized speaker designed to handle low-frequency audio signals, providing the depth and punch that regular speakers cannot. Meanwhile, your AV receiver serves as the core of your audio-visual setup, controlling and directing sound to each connected component.
- Types of Subwoofers: There are active (powered) subwoofers with built-in amplifiers and passive ones relying on amplification from the AV receiver.
- Key Features of an AV Receiver: Look for models with a dedicated ‘Subwoofer Out’ or ‘LFE’ (Low Frequency Effects) channel, ensuring proper connectivity and sound management.
Understanding these components helps prepare you for the connection process, making it straightforward to follow the next steps.
Essential Equipment and Preparation Steps
With knowledge of your gear, it’s time to gather the necessary equipment and prepare for the task at hand. Start by assembling the following items:
- Tools and Cables Required:
- An RCA cable, typically used to link the subwoofer to the receiver.
- A power cable if your subwoofer is the active type.
-
Speaker wire if working with a passive subwoofer.
-
Ensuring Compatibility:
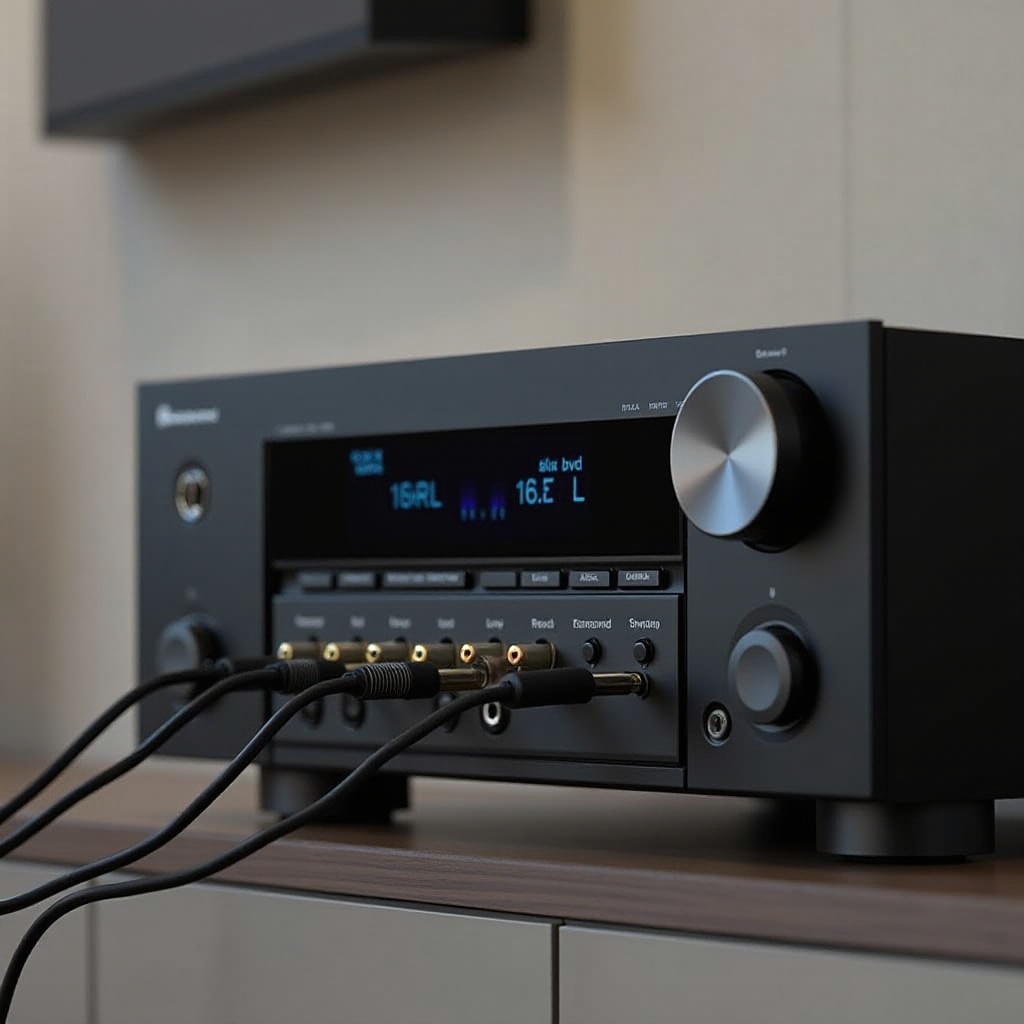
- Inspect the back panels of both your AV receiver and subwoofer for input and output ports.
- Verify that your subwoofer matches with the output capabilities of your AV receiver.
Once properly equipped and verified, you’re set to begin the connection process.
Step-by-Step Connection Guide
Armed with your tools, follow these detailed steps to connect the subwoofer effectively:
- Using RCA Cables for Connection:
- Find the ‘Subwoofer Out’ or ‘LFE’ port on your AV receiver.
-
Connect one end of the RCA cable to this port and the other end into the appropriate input on your subwoofer.
-
Configuring the Subwoofer Output Channel:
- Depending on your subwoofer, ensure it’s set to receive on the correct input channel.
- If available, toggle the subwoofer’s mode to ‘Auto,’ allowing it to power on upon receiving a signal.
Once the physical connections are made, the next step involves optimizing settings on your AV receiver.
Fine-Tuning Your AV Receiver Settings
With your subwoofer connected, fine-tuning your receiver settings is crucial to achieving optimal audio performance:
- Adjusting the Crossover Frequency:
- The crossover frequency dictates which lower frequencies are handled by the subwoofer. Common settings range between 80-120 Hz, adjustable based on personal preference and equipment specifications.
- Setting the Subwoofer Level:
- Begin with the subwoofer volume set to match your main speaker levels, then fine-tune to achieve a cohesive and balanced sound stage.
Appropriately adjusting these settings enhances the integration of your subwoofer, providing superior sound quality.
Performing a Sound Test and Troubleshooting
With adjustments made, conduct audio tests to ensure everything functions smoothly. Follow these suggestions:
- Running Audio Tests:
-
Play different tracks, particularly those with deep bass elements, to evaluate the transition between main speakers and the subwoofer.
-
Common Connection Issues and Solutions:
- Should the subwoofer fail to produce sound, examine all connections and settings.
- If sound lacks clarity, experiment with alternative crossover and volume settings.
Testing the setup identifies any potential issues, allowing you to make necessary corrections and optimize performance.

Advanced Configuration Tips for Optimal Performance
For those aiming for a top-tier audio setup, explore these advanced configuration tips:
- Using Calibration Tools:
- Many AV receivers offer calibration microphones to automatically adjust speaker levels and distances, optimizing room acoustics.
- Exploring Room Correction Features:
- Technologies like Audyssey or Dirac can automatically adjust settings for improved audio performance based on your specific environment.
By employing these advanced tactics, you can push your home theater audio experience to its peak, offering unparalleled sound clarity and depth.
Conclusion
Connecting a subwoofer to an AV receiver might initially seem complex, but this guide simplifies the process into straightforward steps. Equipped with the information and techniques provided, you can integrate your subwoofer seamlessly, setting the stage for an elevated and immersive sound experience. Follow these steps and enjoy the full potential of your home theater audio.
Frequently Asked Questions
Can I use a wireless subwoofer with my AV receiver?
Yes, many modern subwoofers support wireless connections through built-in capabilities or adapters. Ensure your devices are compatible.
What do I do if my subwoofer isn’t producing sound?
Check all connections, confirm the subwoofer is powered on, and ensure the receiver settings direct output to the subwoofer channel.
How do I set the ideal crossover frequency for my system?
Start at the standard 80 Hz frequency, adjusting based on your speaker setup and room acoustics to find the best balance.